Situation
Secari Desert
Algot, Word of Blake Protectorate
13 February 3077
The Capellan Confederation's 4th Tau Ceti Ranges try to destroy, drive off, or capture the Blakist mercenary garrison on the planet Algot.
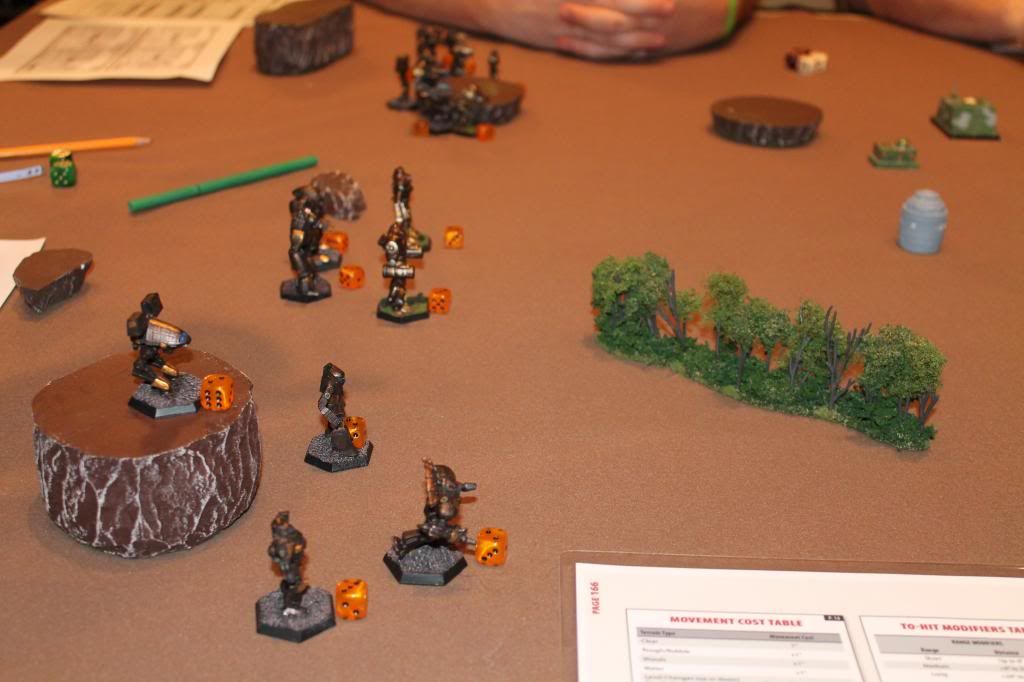
This was our first Alpha Strike game going without hexes.
The 4th Tau Ceti Rangers (Attacker) fielded 16 'Mechs as did the Blakist Mercenaries (Defender).
Turn 1:
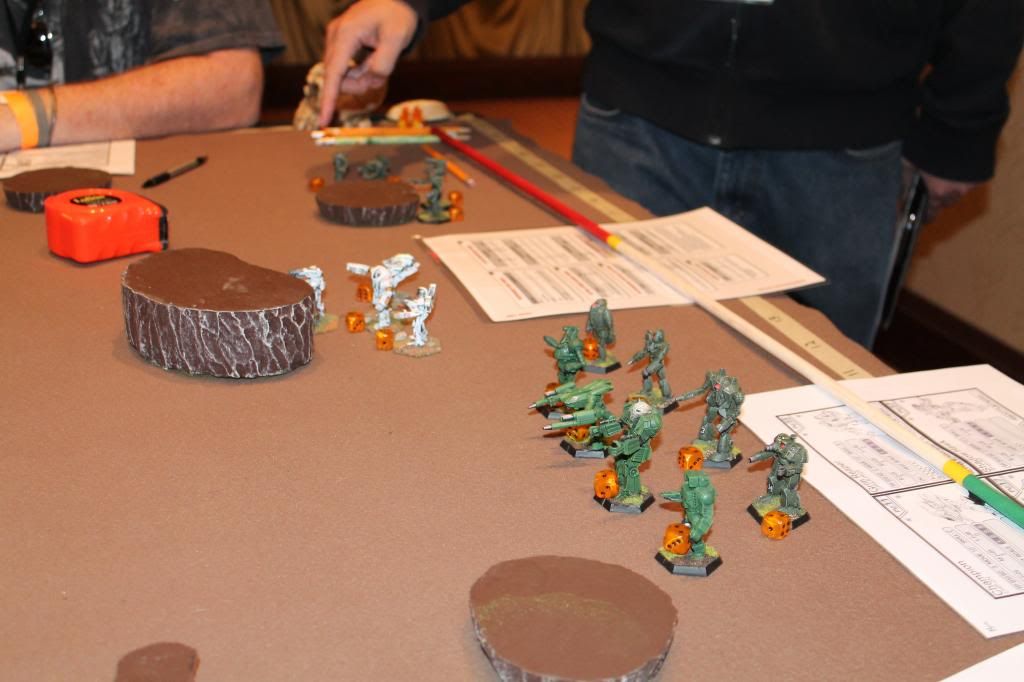
The 4th Tau spreads out across the field. Being in their element of open field combat they received an extra 2" of MP (when crossing open terrain) and made full use of it to begin closing the gap to the mercenaries quickly. Both side exchange long range fire with the mercenary Nightstar taking heavy damage from two lances of 4th Tau 'Mechs.
Turn 2:
Much to the surprise of the 4th Tau artillery shells begin to land. The mercenaries have Two Long Tom and two Thumper artillery units stationed off board. The first Long Tom shell lands at the feet of the 4th Tau Marauder. The blast damages several 4th Tau units. The second Long Tom shell is just as successful, landing in front of the 4th Tau assault lance. Both Thumper shells scatter and fall harmlessly behind the advancing 4th Tau. The Nighstar is finished off by the Emperor, Cerberus and Pillager. The 4th Tau Thunder already severely hurt by the artillery is put down by the mercenary Assassin and Arctic Fox.

Turn 3:
Now aware of the artillery the 4th Tau forces slow up their advance, hoping to throw off the merc artillery gunners. It works as the both Long Tom shells miss their mark and scatter. The shells fall among their own forces, taking out the Champion and damaging the Grim Reaper, Phoenix Hawk and Shadow Hawk. The Thumper shells are a little more accurate and on lands close enough to damage the 4th Tau Cerberus. Several 4th Tau units gang up on the merc Wolverine and finish it off.
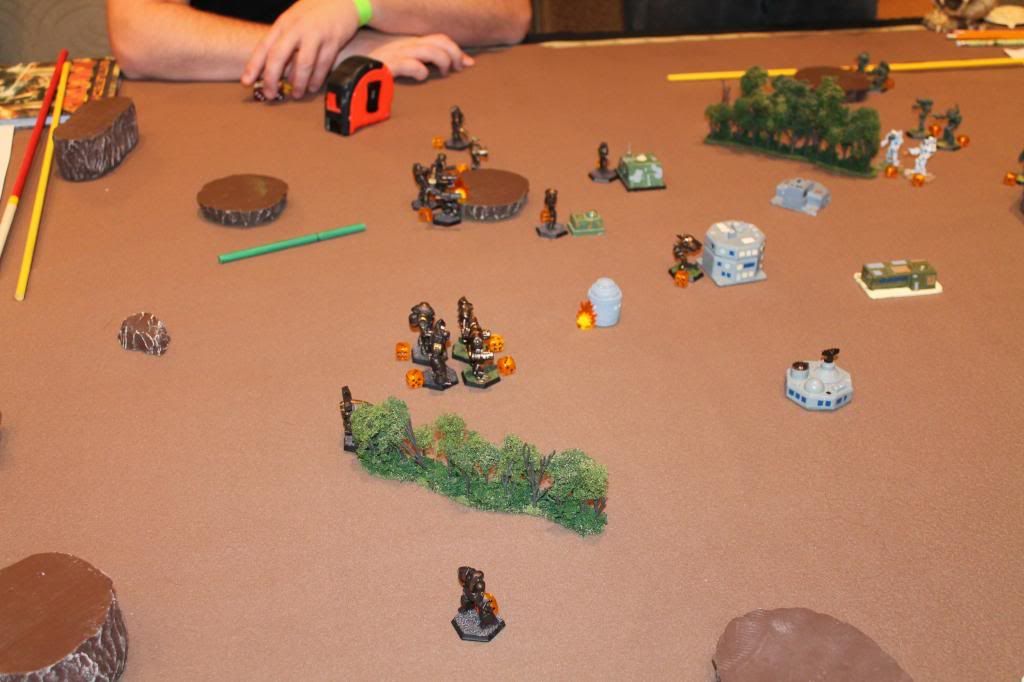
Turn 4:
With the range closing, both forces are now using what ever terrain they can find for cover. Several units on both sides are killed. Once again the Long Tom gunners are off target with one shell falling amid their own forces, destroying the Grim Reaper. One Thumper Shell falls close enough to lightly damage the 4th Tau Catapult, Apollo and Pillager.
Turn 5:
The mercenaries have lost 50% of their forces but are making it costly with close to 40% of their forces destroyed. Accurate fire from both sides eliminate more units. The 4th Tau Marauder dies when the last Long Tom shell lands on the building it was using for cover.
[URL=http://s1217.photobucket.com/user/nickname00100/media/Hammercon%202013%20AS/IMG_9287_zpsd2791c10.jpg.html]
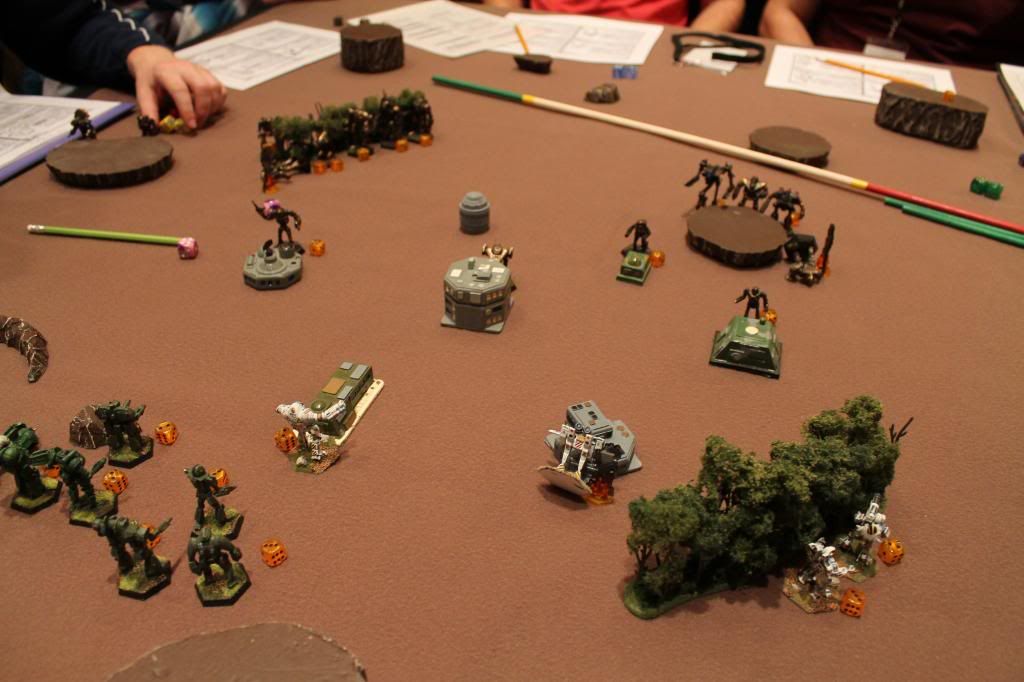
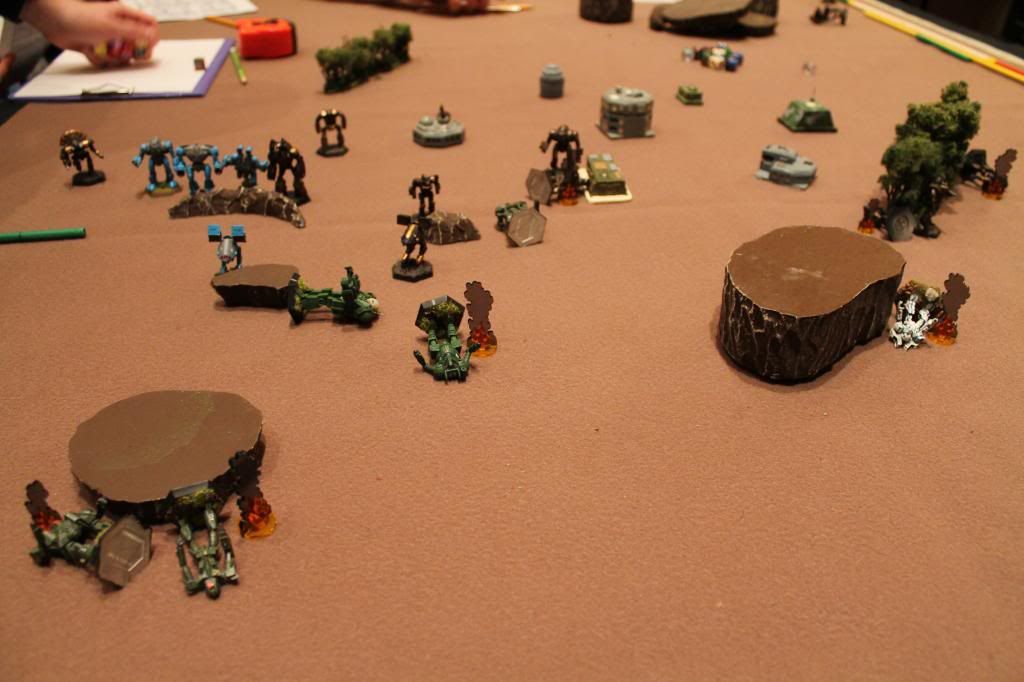
Turn 6:
The mercenaries are caught of guard by the arrival of elements of the 4th MAC. This begins a general retreat across the board by the mercenaries. A few mercenary units move forward to buy time for their compatriots retreat. The merc Shogun pays for his bravery with his life.
Turn 7:
The 4th Tau surges forward with support for the 4th MAC. Several mercenary units make it off board but 3 more don't. But those units don't go down with out a fight and take the 4th Tau Vindicator and Cataphract with them.
[URL=http://s1217.photobucket.com/user/nickname00100/media/Hammercon%202013%20AS/IMG_9294_zps2f2ab312.jpg.html]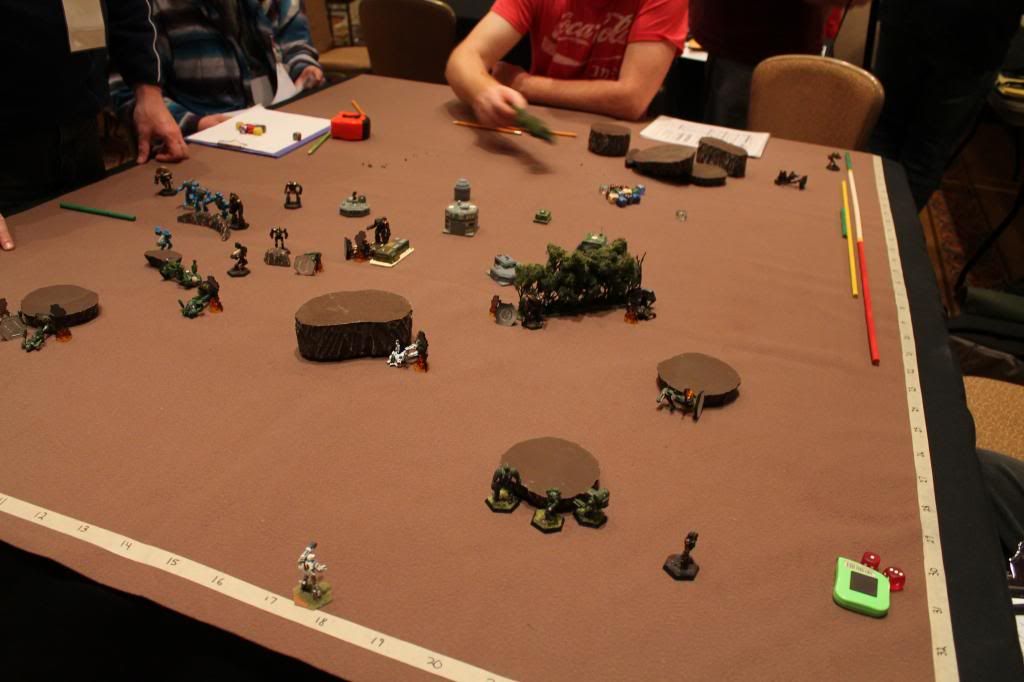
The 4th Tau Ceti Rangers accomplished their object by destroying 75% of the Mercenary force but at a cost of over 50% of their own force. The remain mercenaries escaped in to the Algot desert.


